Today we're not doing a tutorial but rather showcasing an exciting template from one of the most experienced Glif users - an expert in creating Glifs with LORAs. After speaking with him privately, he agreed to provide a "template" Glif that makes it easier for you to experiment with LORAs. Soon, for those interested, there will be a more detailed tutorial about LORAs, including training methods and Comfy UI integration. For now, we're waiting for the latest updates from GLIF.APP.
What are LORAs?
LORAs (Low-Rank Adaptation) allow you to generate images in very specific styles. The possibilities with LORAs are virtually unlimited:
Cute or stylized art like the Cute Crayon style
Specific art styles such as oil paintings, watercolors, or pixel art
Character-specific adaptations
And much more!
Shoutout to Insectagon!
A huge thank you to Insectagon for sharing his expertise and providing this amazing template!
Visit Insectagon's Profile: https://glif.app/@Insectagon
Insectagon is one of the most knowledgeable Glif users when it comes to implementing LORAs and creating stunning stylized images. His generous contribution makes it easier for everyone to experiment with different artistic styles.
Be sure to check out his other Glifs for inspiration and follow his work!

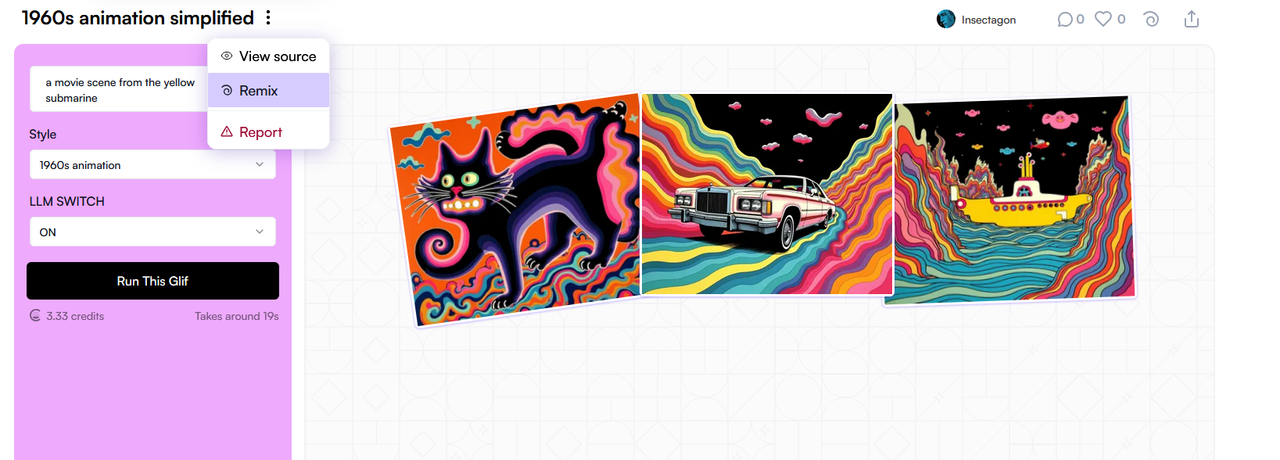
Using Insectagon's LORA Template
Access the template here: https://glif.app/@Insectagon/glifs/cm7oi166w000ctaxycvc7p86w
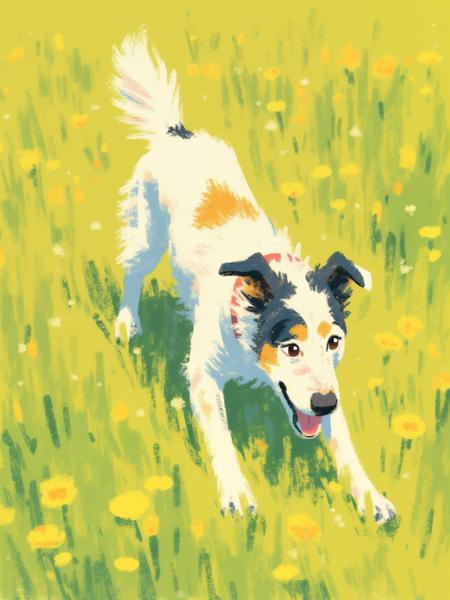
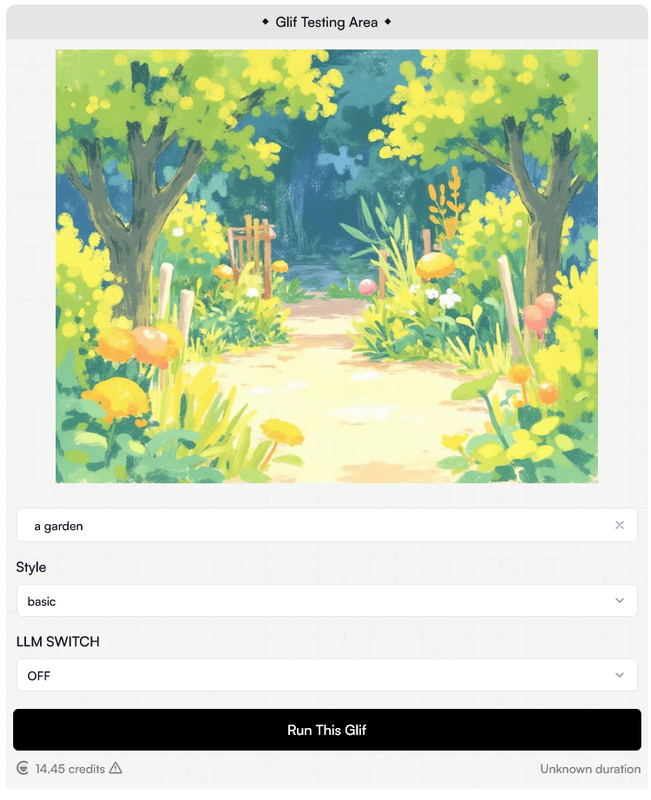
Let's use the Cute Crayon LORA style
For this showcase, we'll use a charming LORA from Civitai: Cute Crayon
Step-by-Step Guide:
Step 1: Remix Insectagon's Template
Visit the link to Insectagon's template Glif
Click the "Remix" button
Rename it to whatever you want (e.g., "My-Cute-Crayon-Style")
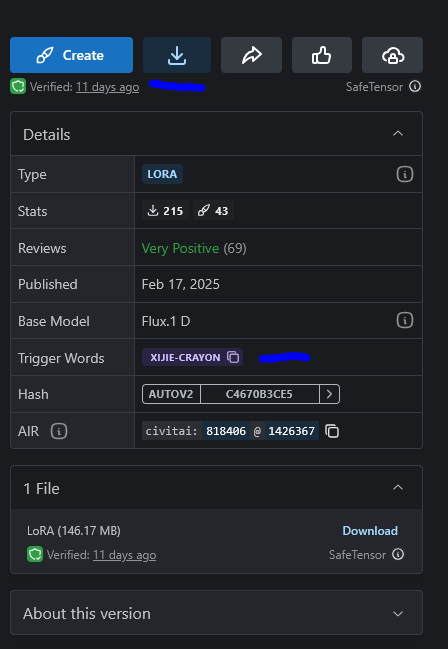
Step 2: Get the LORA from Civitai
Go to the Cute Crayon LORA page
Click the download button and copy the direct download link
Note any Trigger Words from the model page (these are crucial for making the LORA work!)
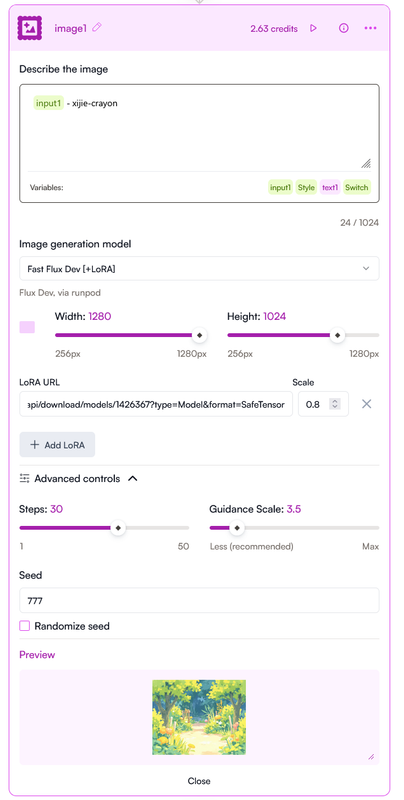
Step 3: Configure the Template
In your remixed Glif, locate the Image Generator block
Replace the existing LORA link with the one you copied from Civitai
Update the prompt to include the trigger words + your desired input
Important: Adjust the following parameters:
Guidance Scale: Try values between 2-4.5 for best results with this LORA
LORA Strength: Start with 0.7 and adjust up or down (0.5-1.0) to control style intensity
Step 4: Fine-Tune and Experiment
Run your Glif with the initial settings
If the style is too subtle, increase the LORA strength
If the style is overpowering, decrease the LORA strength
Adjust the guidance scale to affect how closely the image follows your prompt
Try different prompts while keeping any required trigger words
Optimizing Your Results
Here are some tips for getting the best results with your LORA:
Finding the Sweet Spot: Each LORA has an ideal strength setting - experiment to find what works best
Prompt Engineering: Some LORAs respond better to certain descriptive words
Guidance Scale Balance: For the Cute Crayon LORA, lower values (2-3) produce more stylized results, while slightly higher values (3.5-4.5) maintain the style while following prompts more closely
Where to Find More LORAs
Civitai (https://civitai.com/) is a fantastic resource with thousands of trained LORAs available for download.
You can find styles for virtually any aesthetic you're looking for.
Important Tips:
Always check if the LORA requires specific trigger words
Different LORAs may work better with specific base models
Don't be afraid to experiment with different settings
Save your favorite configurations for future use
Stay tuned for our upcoming comprehensive LORA tutorial, where we'll show you how to train your own LORAs from scratch!
Special thanks again to Insectagon for providing this template and sharing his expertise in the field of LORAs!